The Mountain Wall Art project was the first project that was started as a class-wide endeavor, and the defining project of the entire semester. It also served as our introduction to the use of power tools, as most of the class hadn't even heard the words "miter saw" before. I had some previous experience with power tools, but it was limited to mostly screwing and unscrewing things with power drills. This project helped to get me and the rest of my class more familiar with being around and using such tools, which went well due to the thankfully big lack of injuries that were received this semester.
But I digress. The project was about taking flat, rectangular wood strips and making a mountain picture with them by making 45 degree angle cuts across the strips. The below image is a good example of the pieces we were making, though it was not student-made.
But I digress. The project was about taking flat, rectangular wood strips and making a mountain picture with them by making 45 degree angle cuts across the strips. The below image is a good example of the pieces we were making, though it was not student-made.
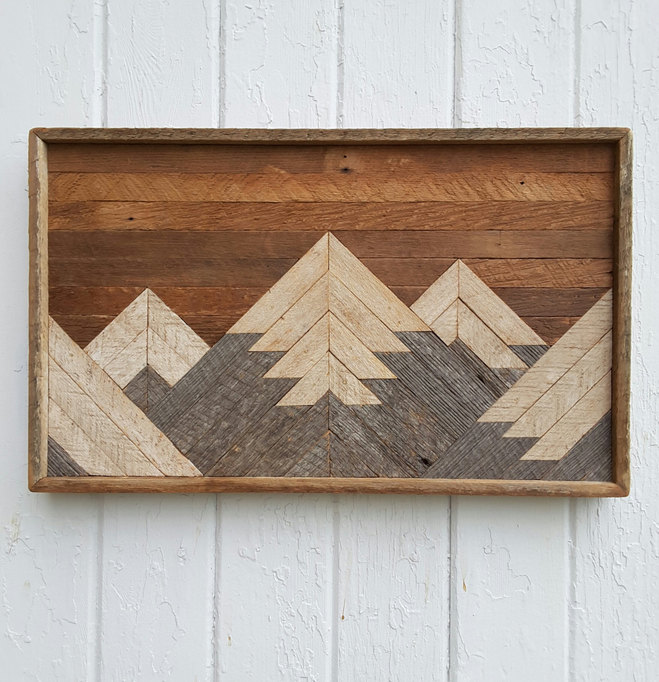
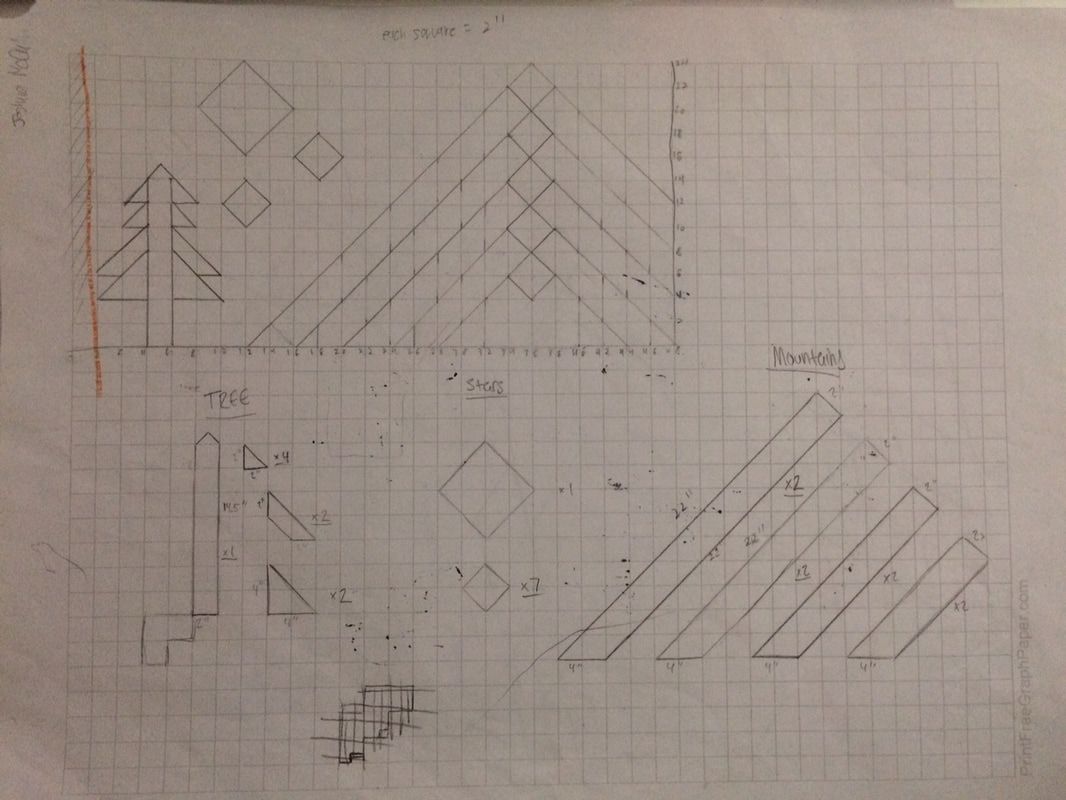
By arranging the cut strips in a chosen pattern, we made mountain pictures similar to the one above.And, as with all things, there was the first step of the project, which was the planning part. I drew up an initial design for the mountain, and after partnering up with another classmate, we both agreed to use my design, which is below.
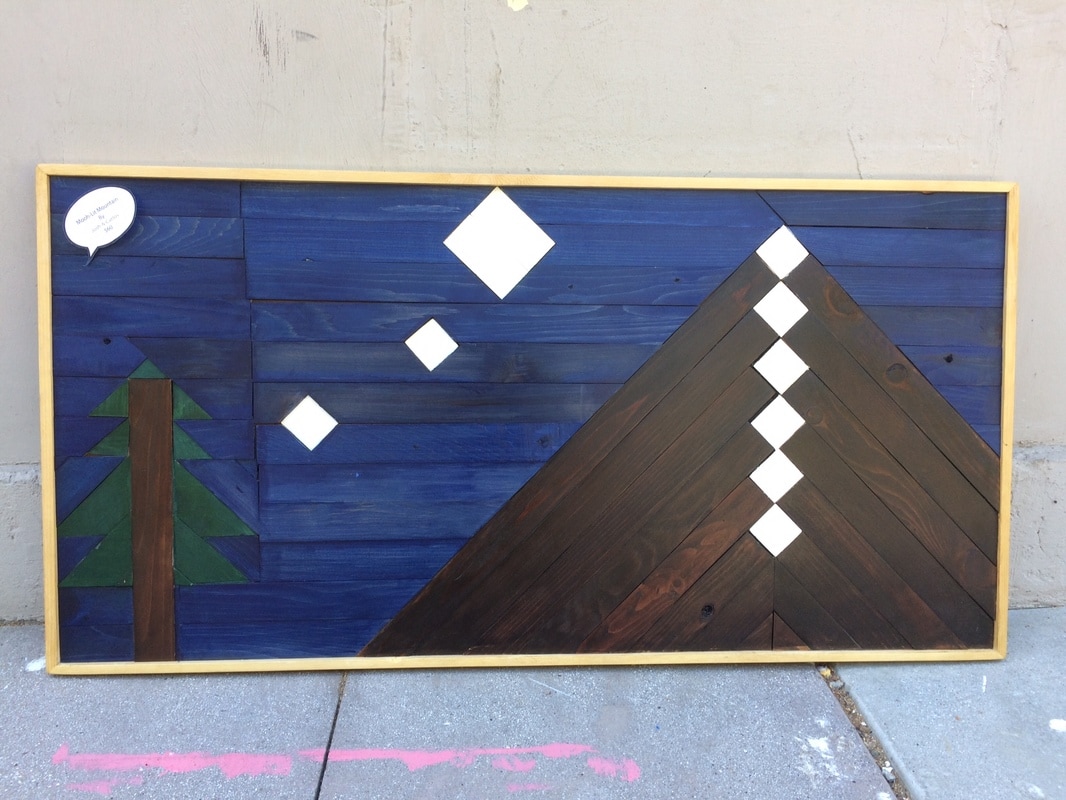
From the design, my partner and I cut out a backboard to sketch the guide for our wood pieces. This was turned out to be time consuming, as the design I had drafted was not properly scaled, and so we had to re-draw the guide to proper scale. Once this was done, we then measured and cut out the wood pieces necessary for the guide. This was even more time consuming than re-drawing the guide, as we had to keep re-cutting the wood pieces either because they were too short/long, or they had simply disappeared. Once all the pieces were retrieved and/or cut right, we began to stain them the colors we wanted, and glued them to the backboard once they were dry. Once all the pieces were glued to their respective places, we trimmed the edges of the board and pieces so that they were perfectly flush on all four sides, and then cut out pieces for a frame. Making the frame was similar to the process of cutting the wood strips, in that the pieces went missing or weren't cut right (I ended up using a miter saw way more than I anticipated.) The frame was finished regardless, and after some sanding and smoothing, we glued the frame to our mountain piece, and followed up with multiple coats of a polyurethane coat to seal the wood and give it a smoother finish. A picture of the finished product is below.
One of the things that I learned from this project is precision, or doing things correctly the first time you do them so that you don't have to repeat it. We must have gone through dozens of wood strips, my partner and I, and many times I would have rather just cut them right the first time than to do them over and over again. I'm happy with what we made in the end, but I know that it could have been far better if we had been more precise in building it the first time around.
