Aside from our Mountain Art projects, our engineering teacher wanted to try something new this year with our class: a self-directed project of our choosing. The idea was that we could come up with a project idea, run it by our teacher, and if he approved of it, then we could independently complete that project. For my project, I decided to make a (mostly) historically accurate traditional Celtic shield, emblazoned with my family crest. It took quite some effort, and assistance from my mother, but the end result was more than worth it.
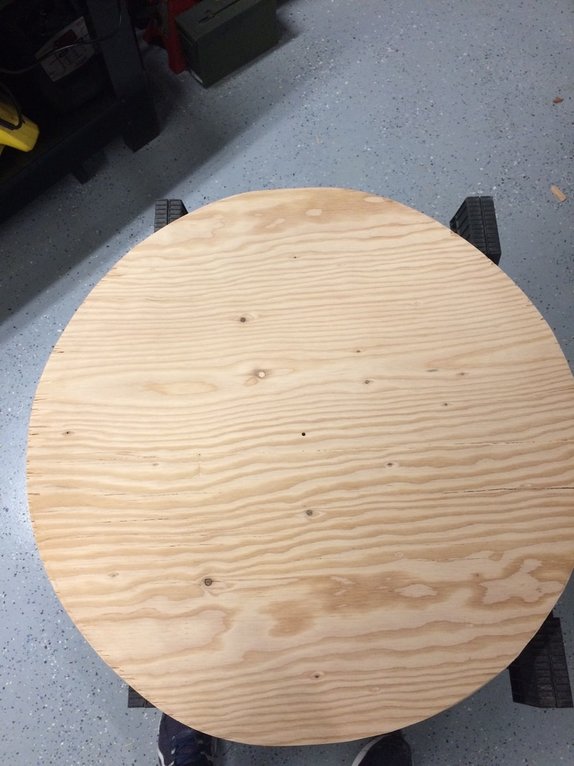
I started off with a 24"x 24" sheet of 3/4" plywood, and cut it into a rough circle with a jigsaw. The edges I smoothed out with a sander and by hand.
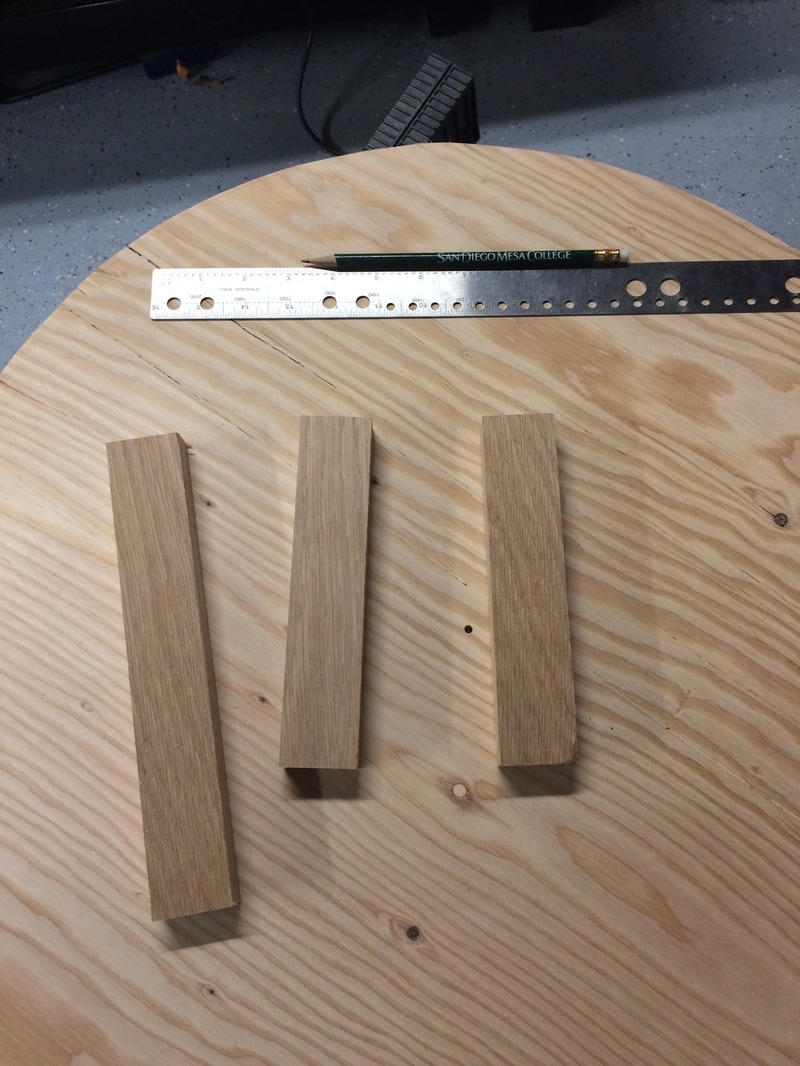
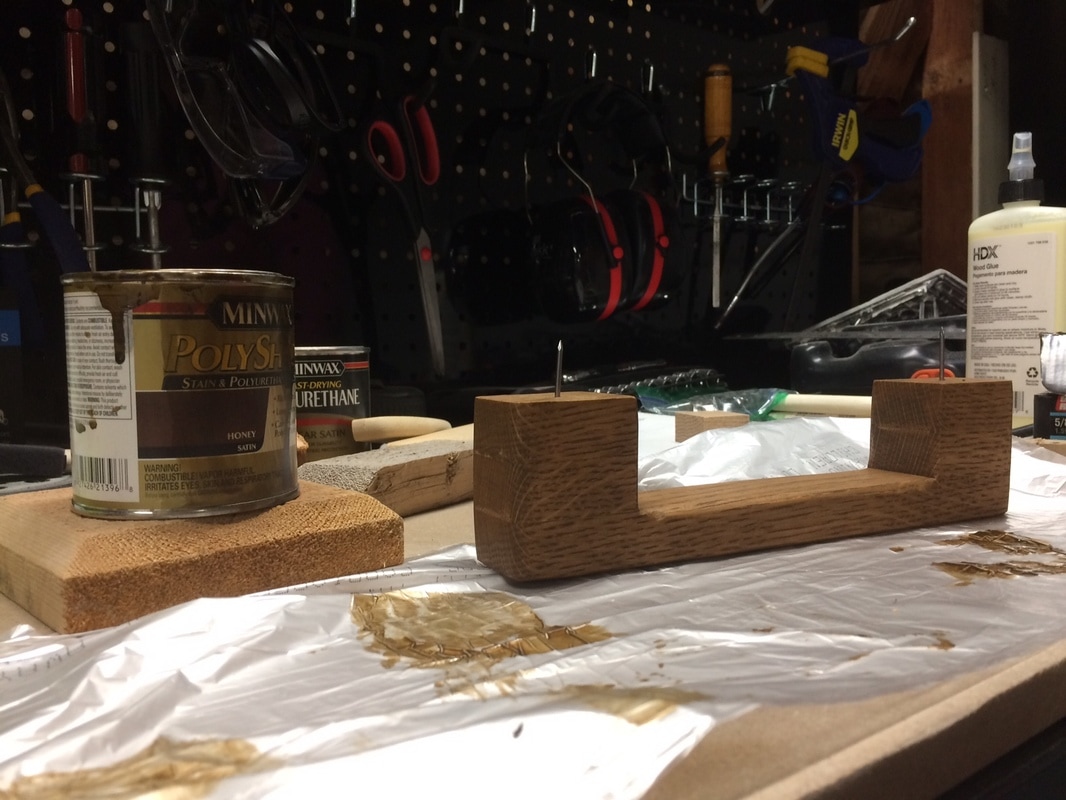
To make a mounted handle for the shield, I took some white oak wood pieces and cut them into small pieces to be glued later.
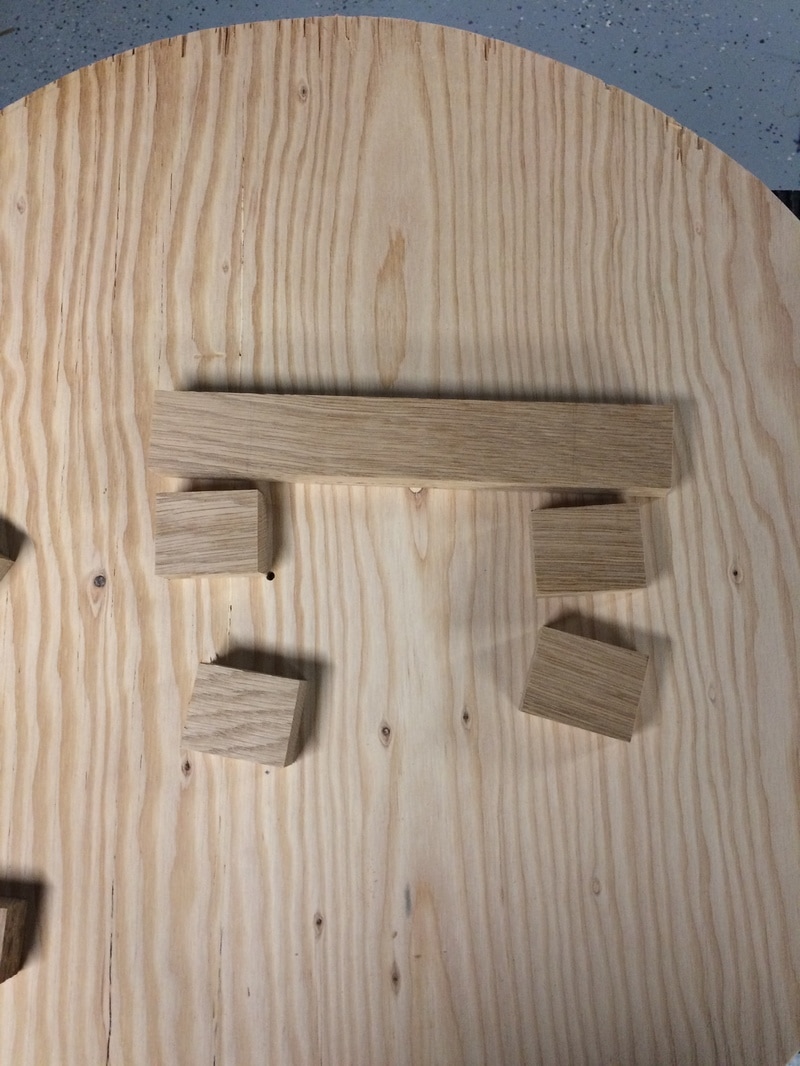
These pieces were glued and clamped while the rest of the shield was being made.
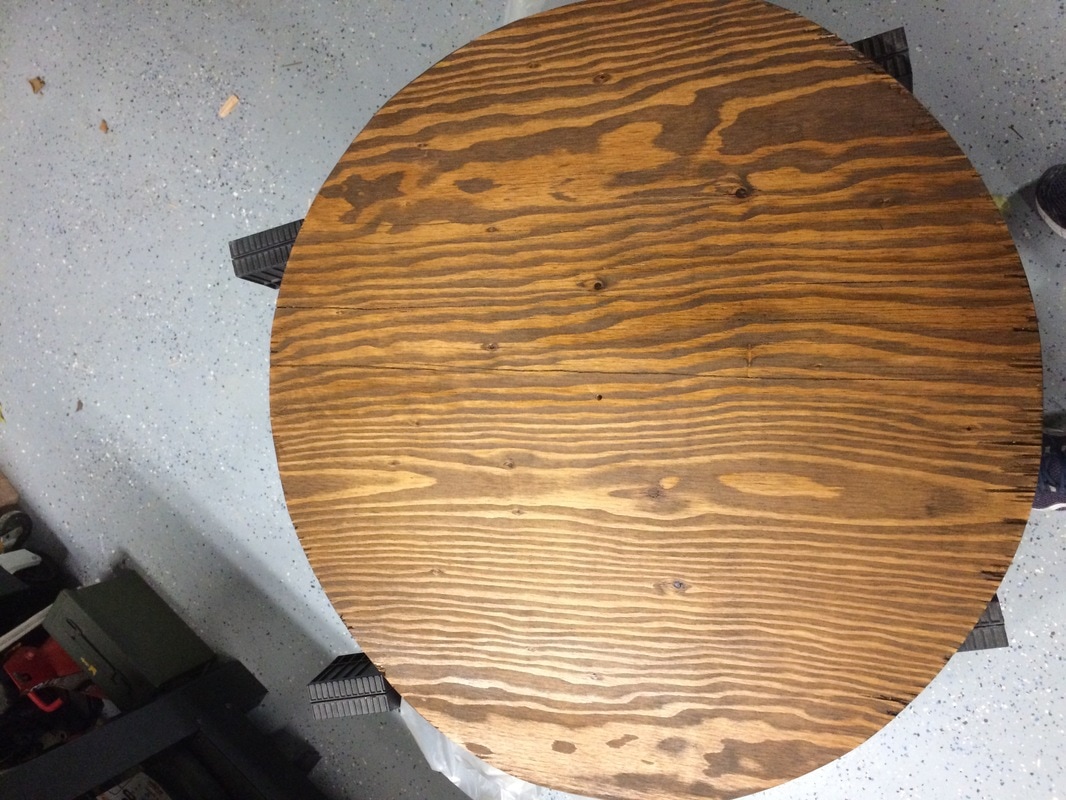
The handle-cutting was done while waiting for the shield to finish drying from its stain. Personally, I think it looks perfect.
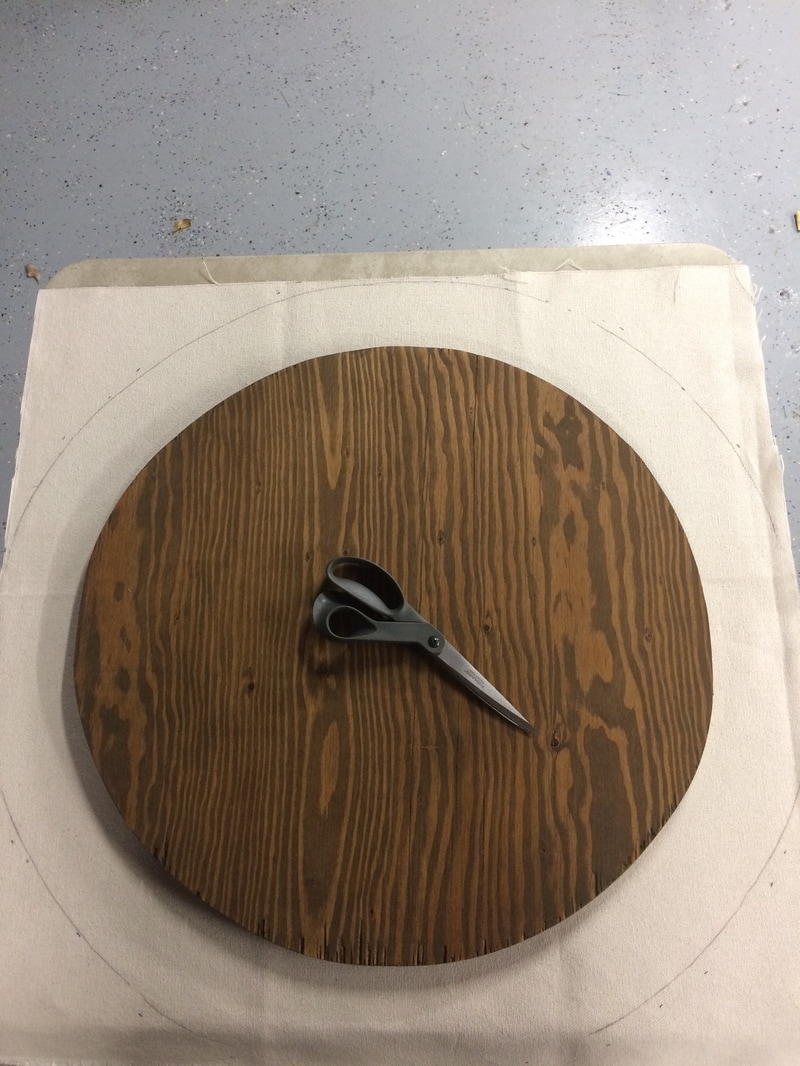
This is where the historical accuracy comes in. Traditional Celtic shields were covered by rough canvas, to help prevent the shield from splitting under weapon hits, and were sometimes ringed as well. The canvas was marked to be cut out with about 3 inches of spare material to be folded over and tack into the shield.

The canvas was tacked in with roofing nails, which work surprisingly well with wood and canvas, if you have a good hammer and a strong arm.
The shield handle was sanded after it was glued together, with two nails added for joining it to the shield back.
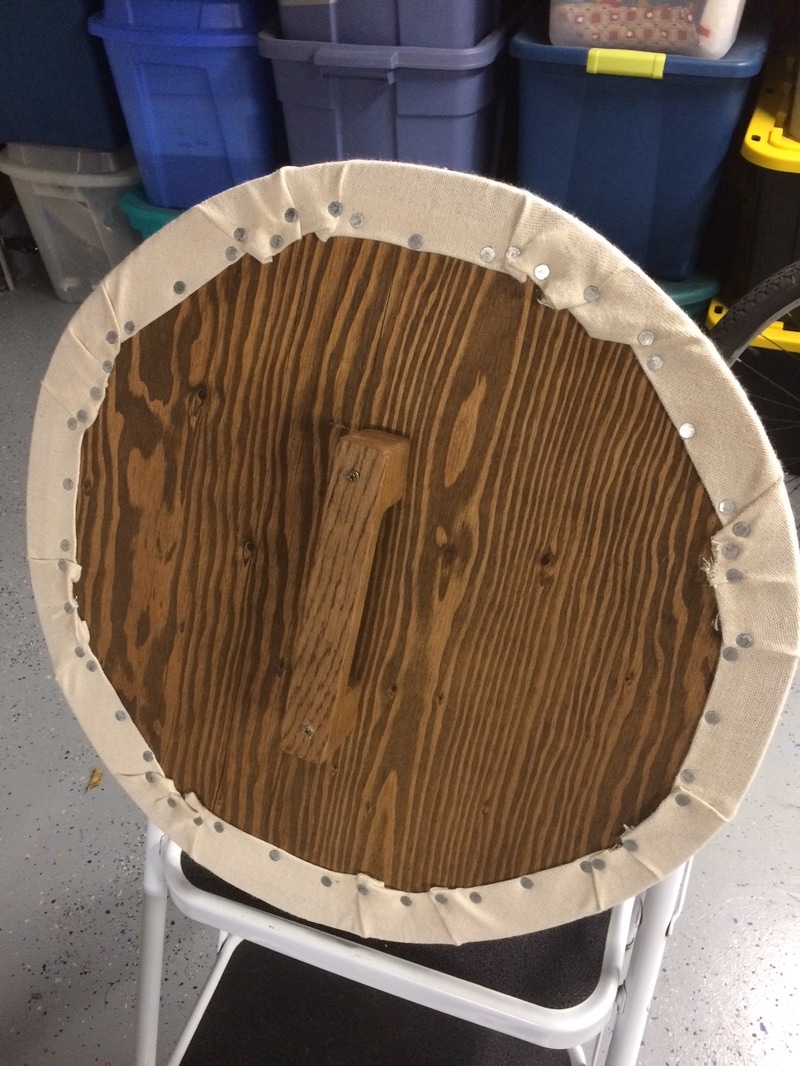
The handle was hammered and glued on, and two screws were driven through to make sure it would stay attached. (Maybe the Celts didn't have screws, but I'll sacrifice some accuracy for stability.)

After the shield was assembled, gesso was put onto the shield face. This primes the canvas for painting, and prevents some stretching or sagging from the canvas. The lighting here makes the shield look darker, but the gesso actually makes it look brighter. (gesso is a paint mixture made from ground up chalk or gypsum, and is normally used as a primer to paint wood or canvas.)
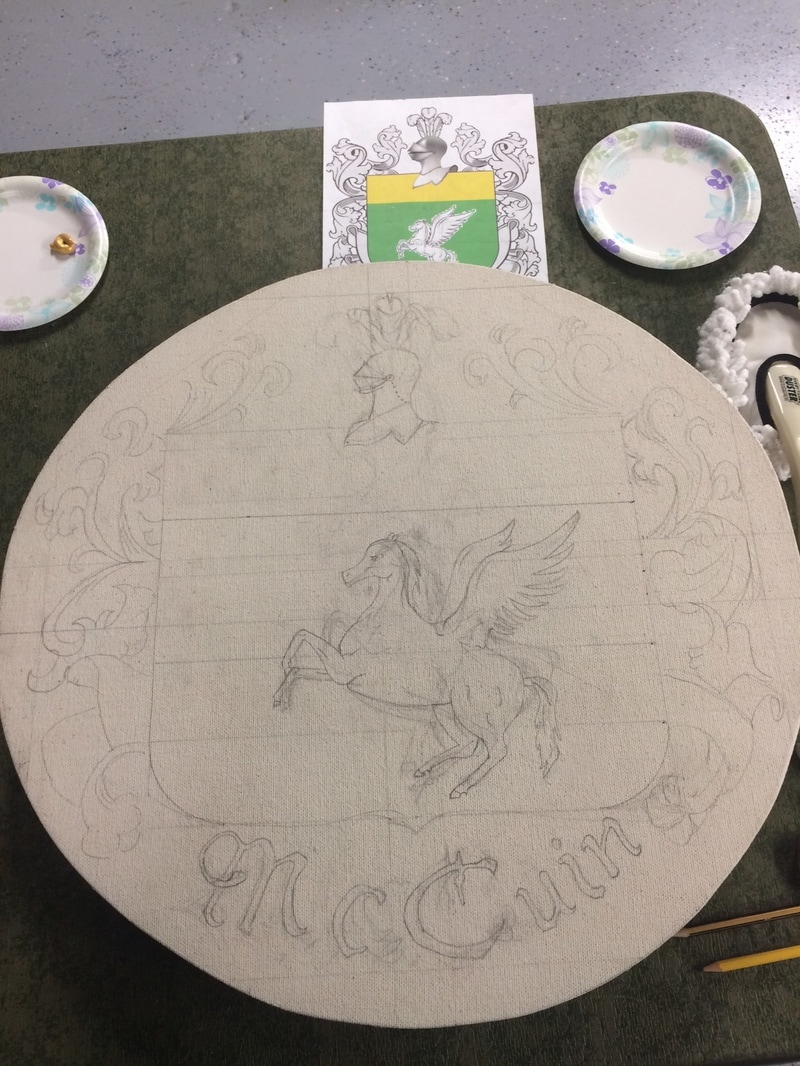
After the shield had fully dried, the sketching for the paint began. This is where my mother helped me the most (besides helping me paint), as she had taken our family crest and used Photoshop wizardry to make it into a guide for sketching and painting. The Pegasus however, was all me.(He ended up a bit on the tubbier side when he was painted, but that doesn't matter. He's just a bigger flying horse.)
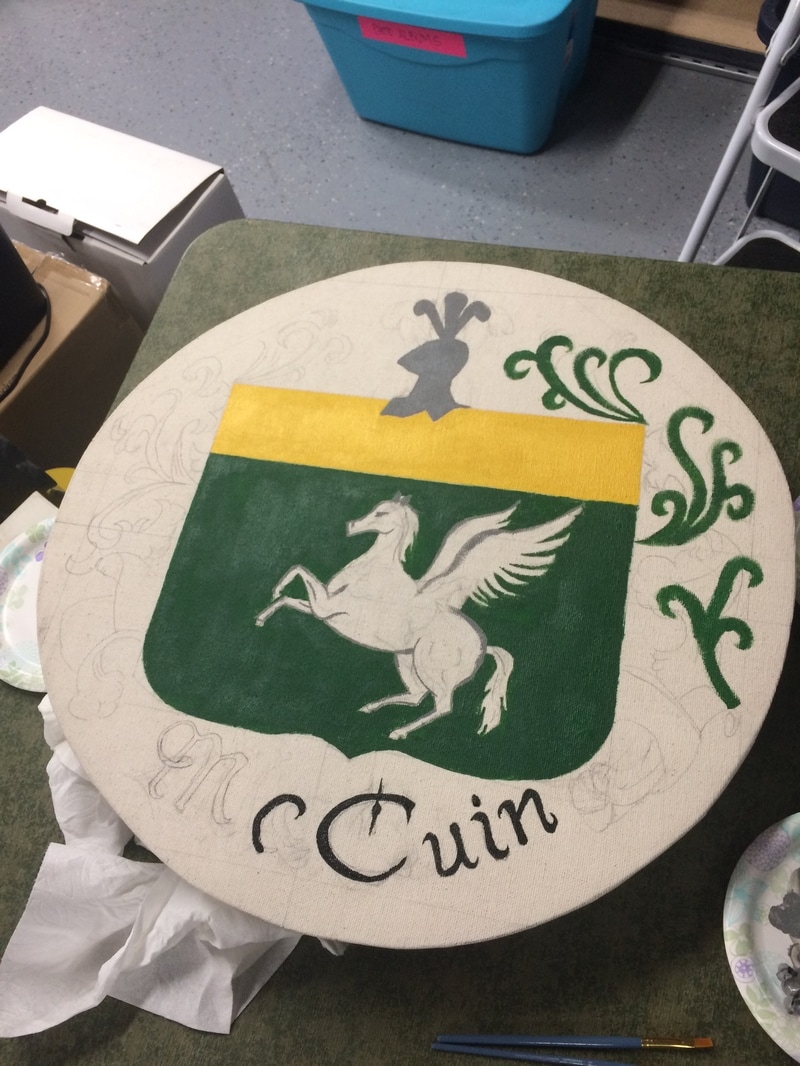
The painting here was about a third of the way done, with the family name and detailing still needing to be painted.
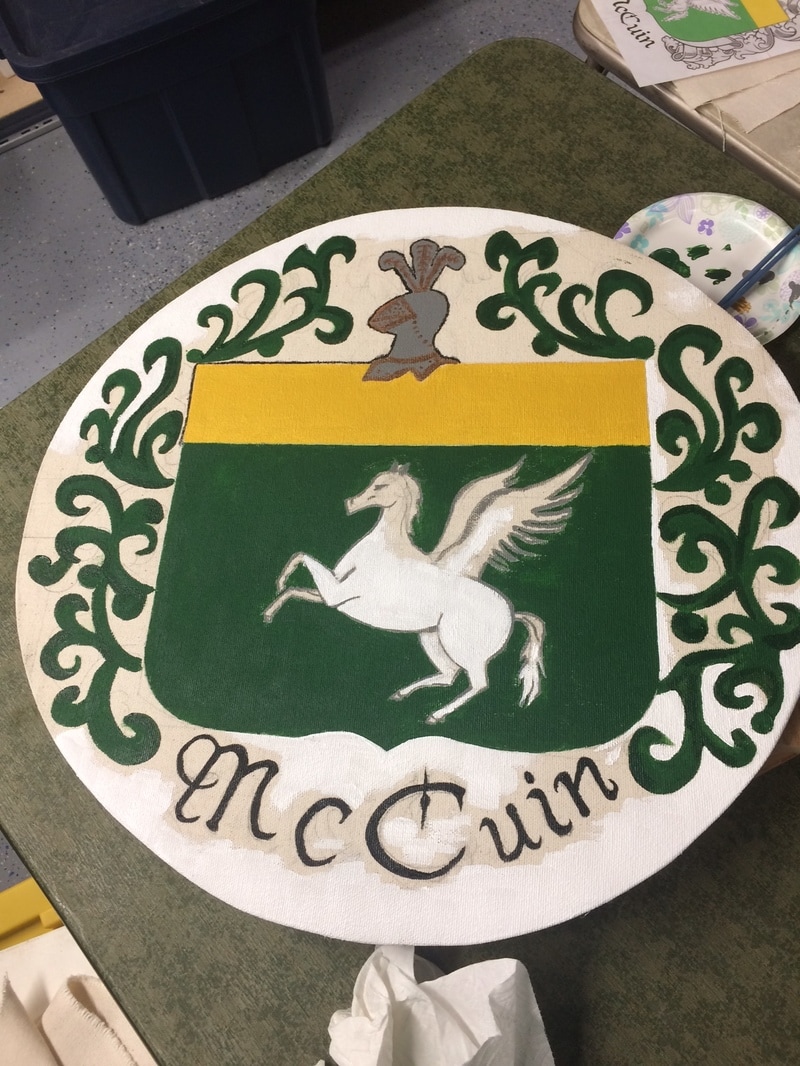
The painting is nearly complete here: some detailing and white filling is all that's left.
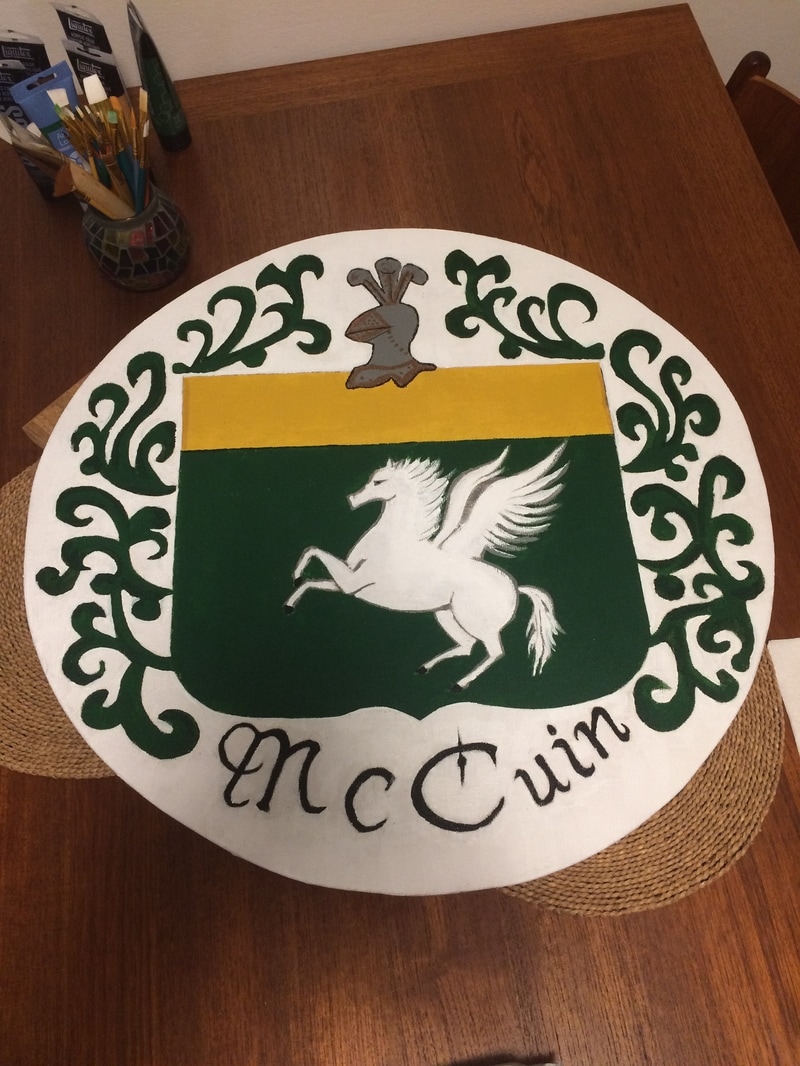
And here, the family crest is finished, emblazoned on a sturdy oak shield. From this project, I learned that there is a good deal of enjoyment to be had from hard work (painting this shield took more than 8 hours of constant painting), and that the amount of effort that you put into your work will be directly proportional to the outcome. For this project, a wall-worthy shield was the outcome of multiple days of building and a single session of non-stop painting.
